MAKE: Mini Ballpit DIY
If you know any small children, or have an Instagram account, you may well be familiar with these trendy, grey ball pits. Hours of fun for little ones, (and an equal amount of clearing up stray balls for the grown ups!). Here’s how I made a miniature version, sown here in a 1:12 scale doll’s house. Not as fun as the real deal, but a fraction of the mess in your living room!
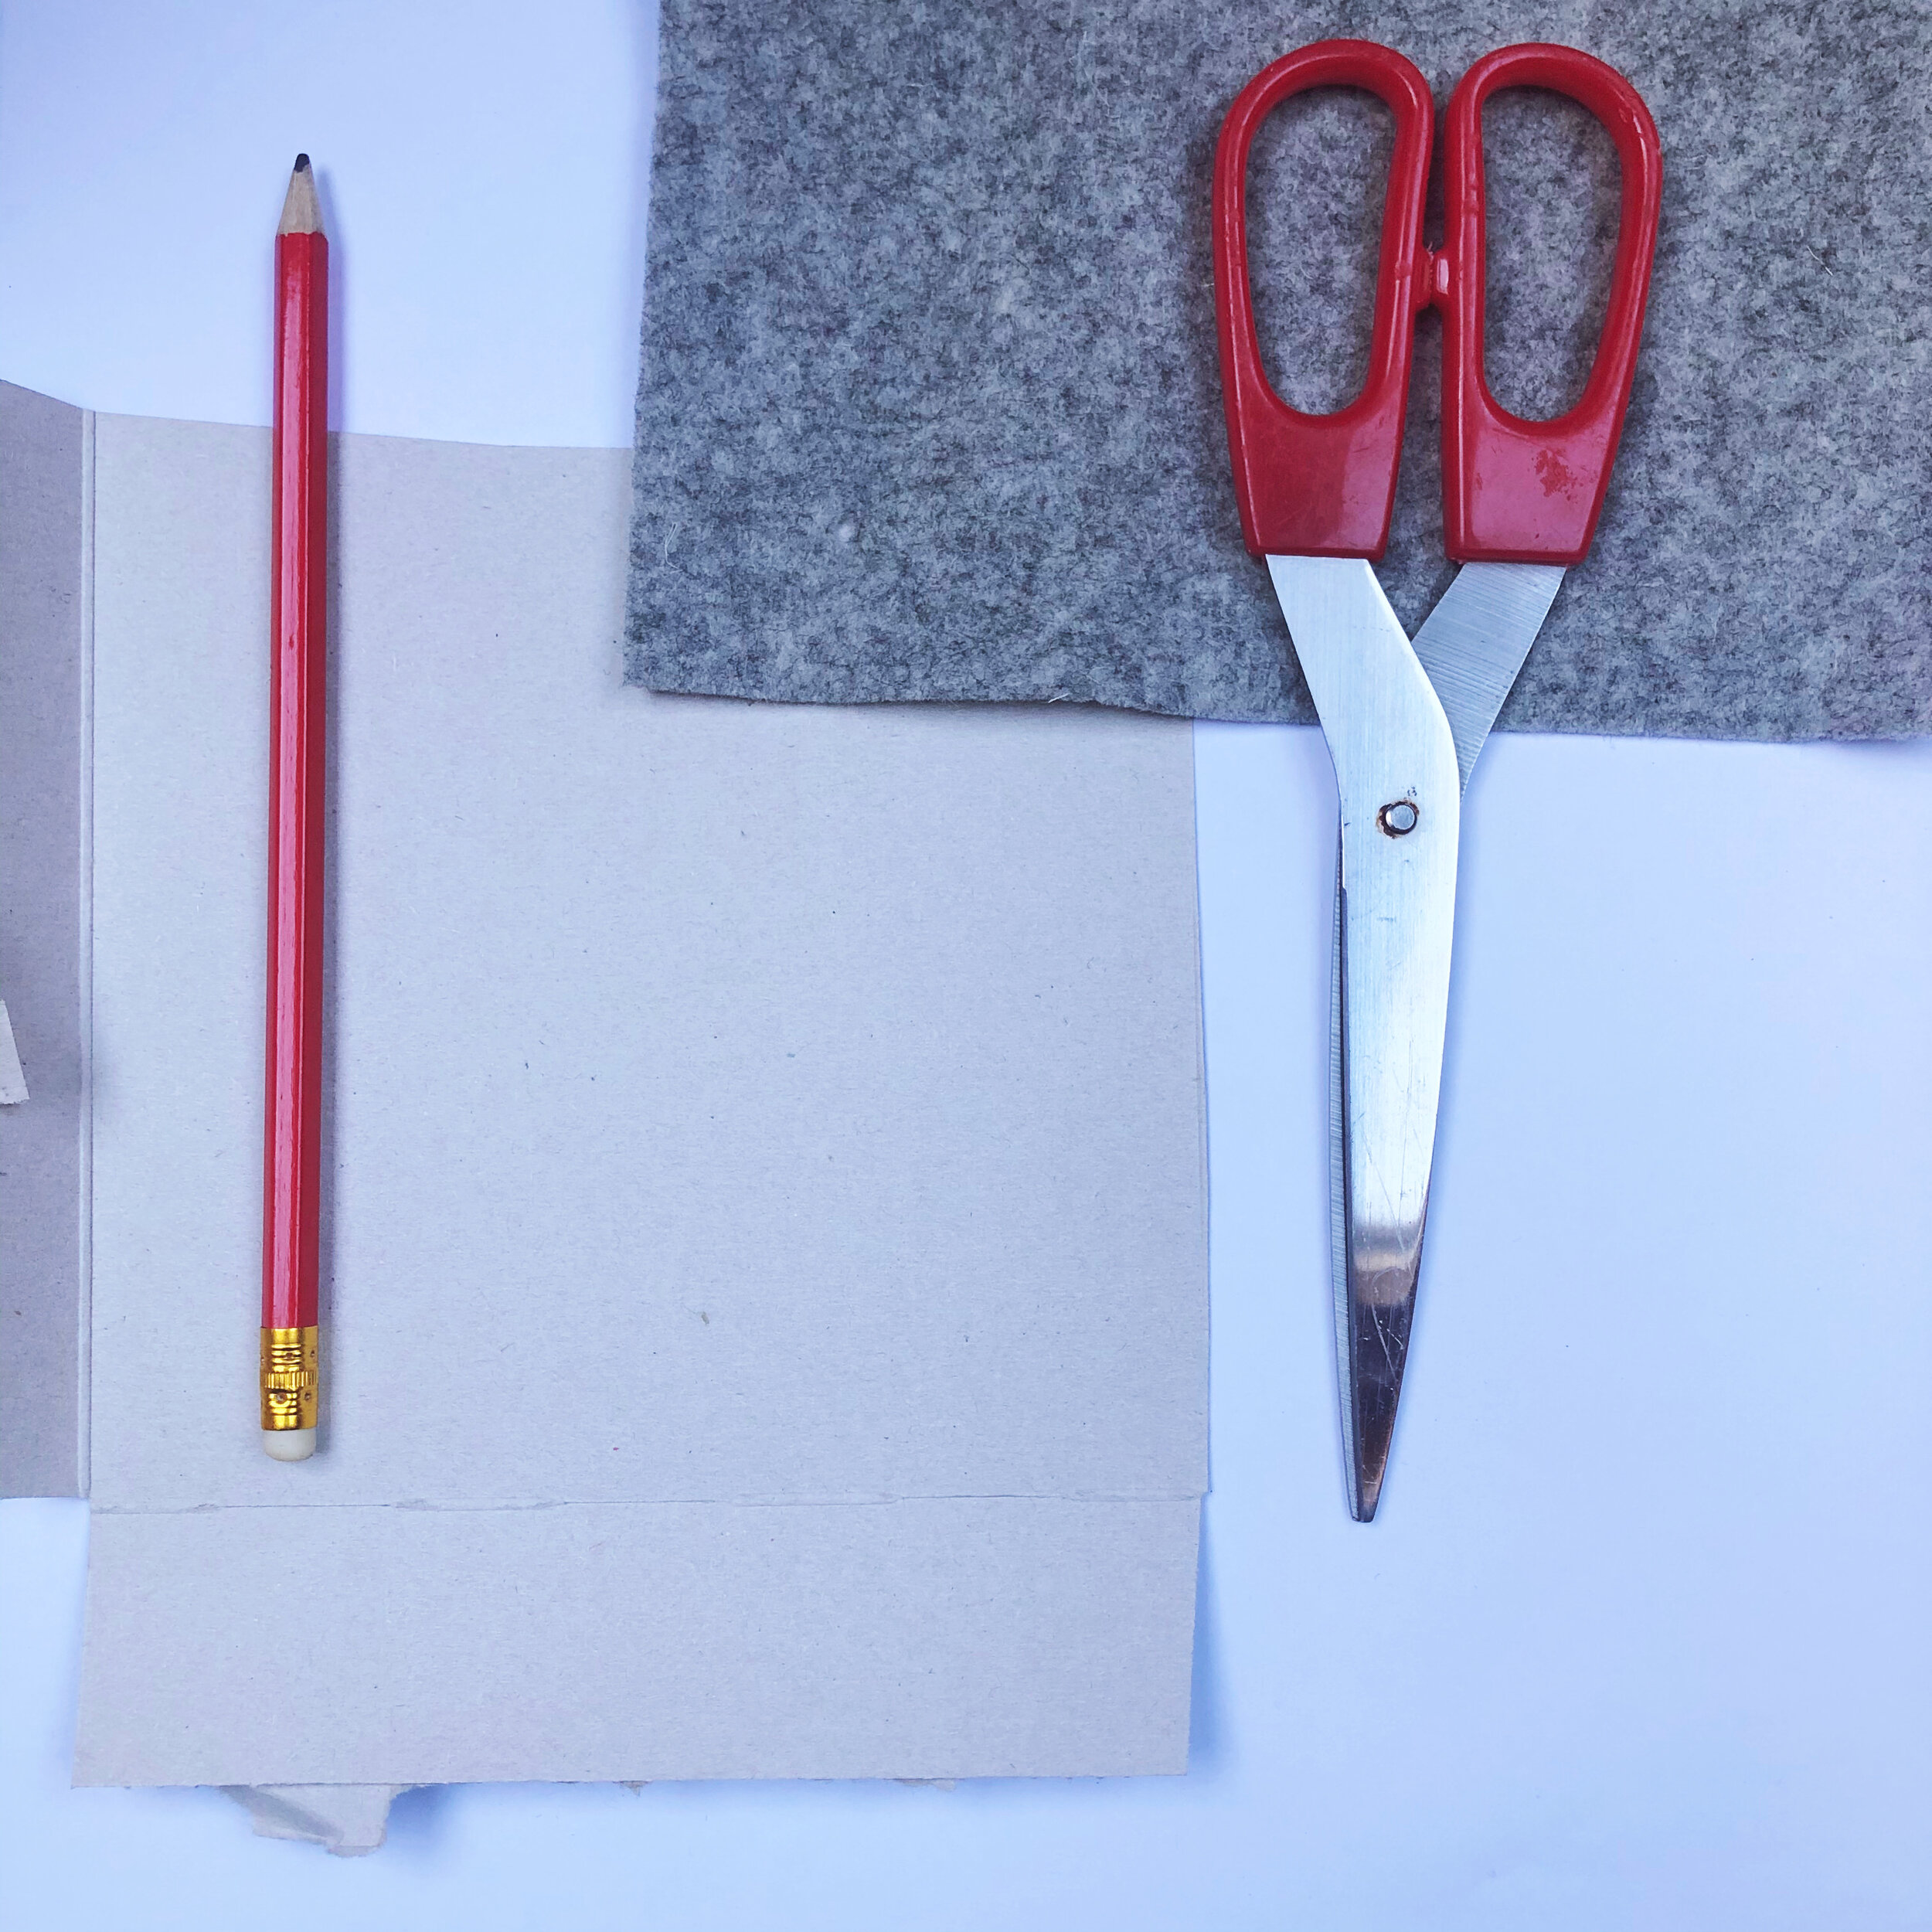
YOU WILL NEED:
x 1 sheet of good quality felt
Good quality fabric/craft glue ( I used Mod Podge as it’s got a good grip but you’re still able to reposition whilst drying)
Fabric scissors
Thin card ( I used a tissue box)
Sewing needle and thread
Something cylindrical to shape your ball pit around. (I used a glass, pudding ramekin, measuring approx 7.5cm diameter. Though any jar or can of a similar size will work.)
1 pack multi-coloured polystyrene balls
Clothes pegs or small craft clamps to secure
TO MAKE:
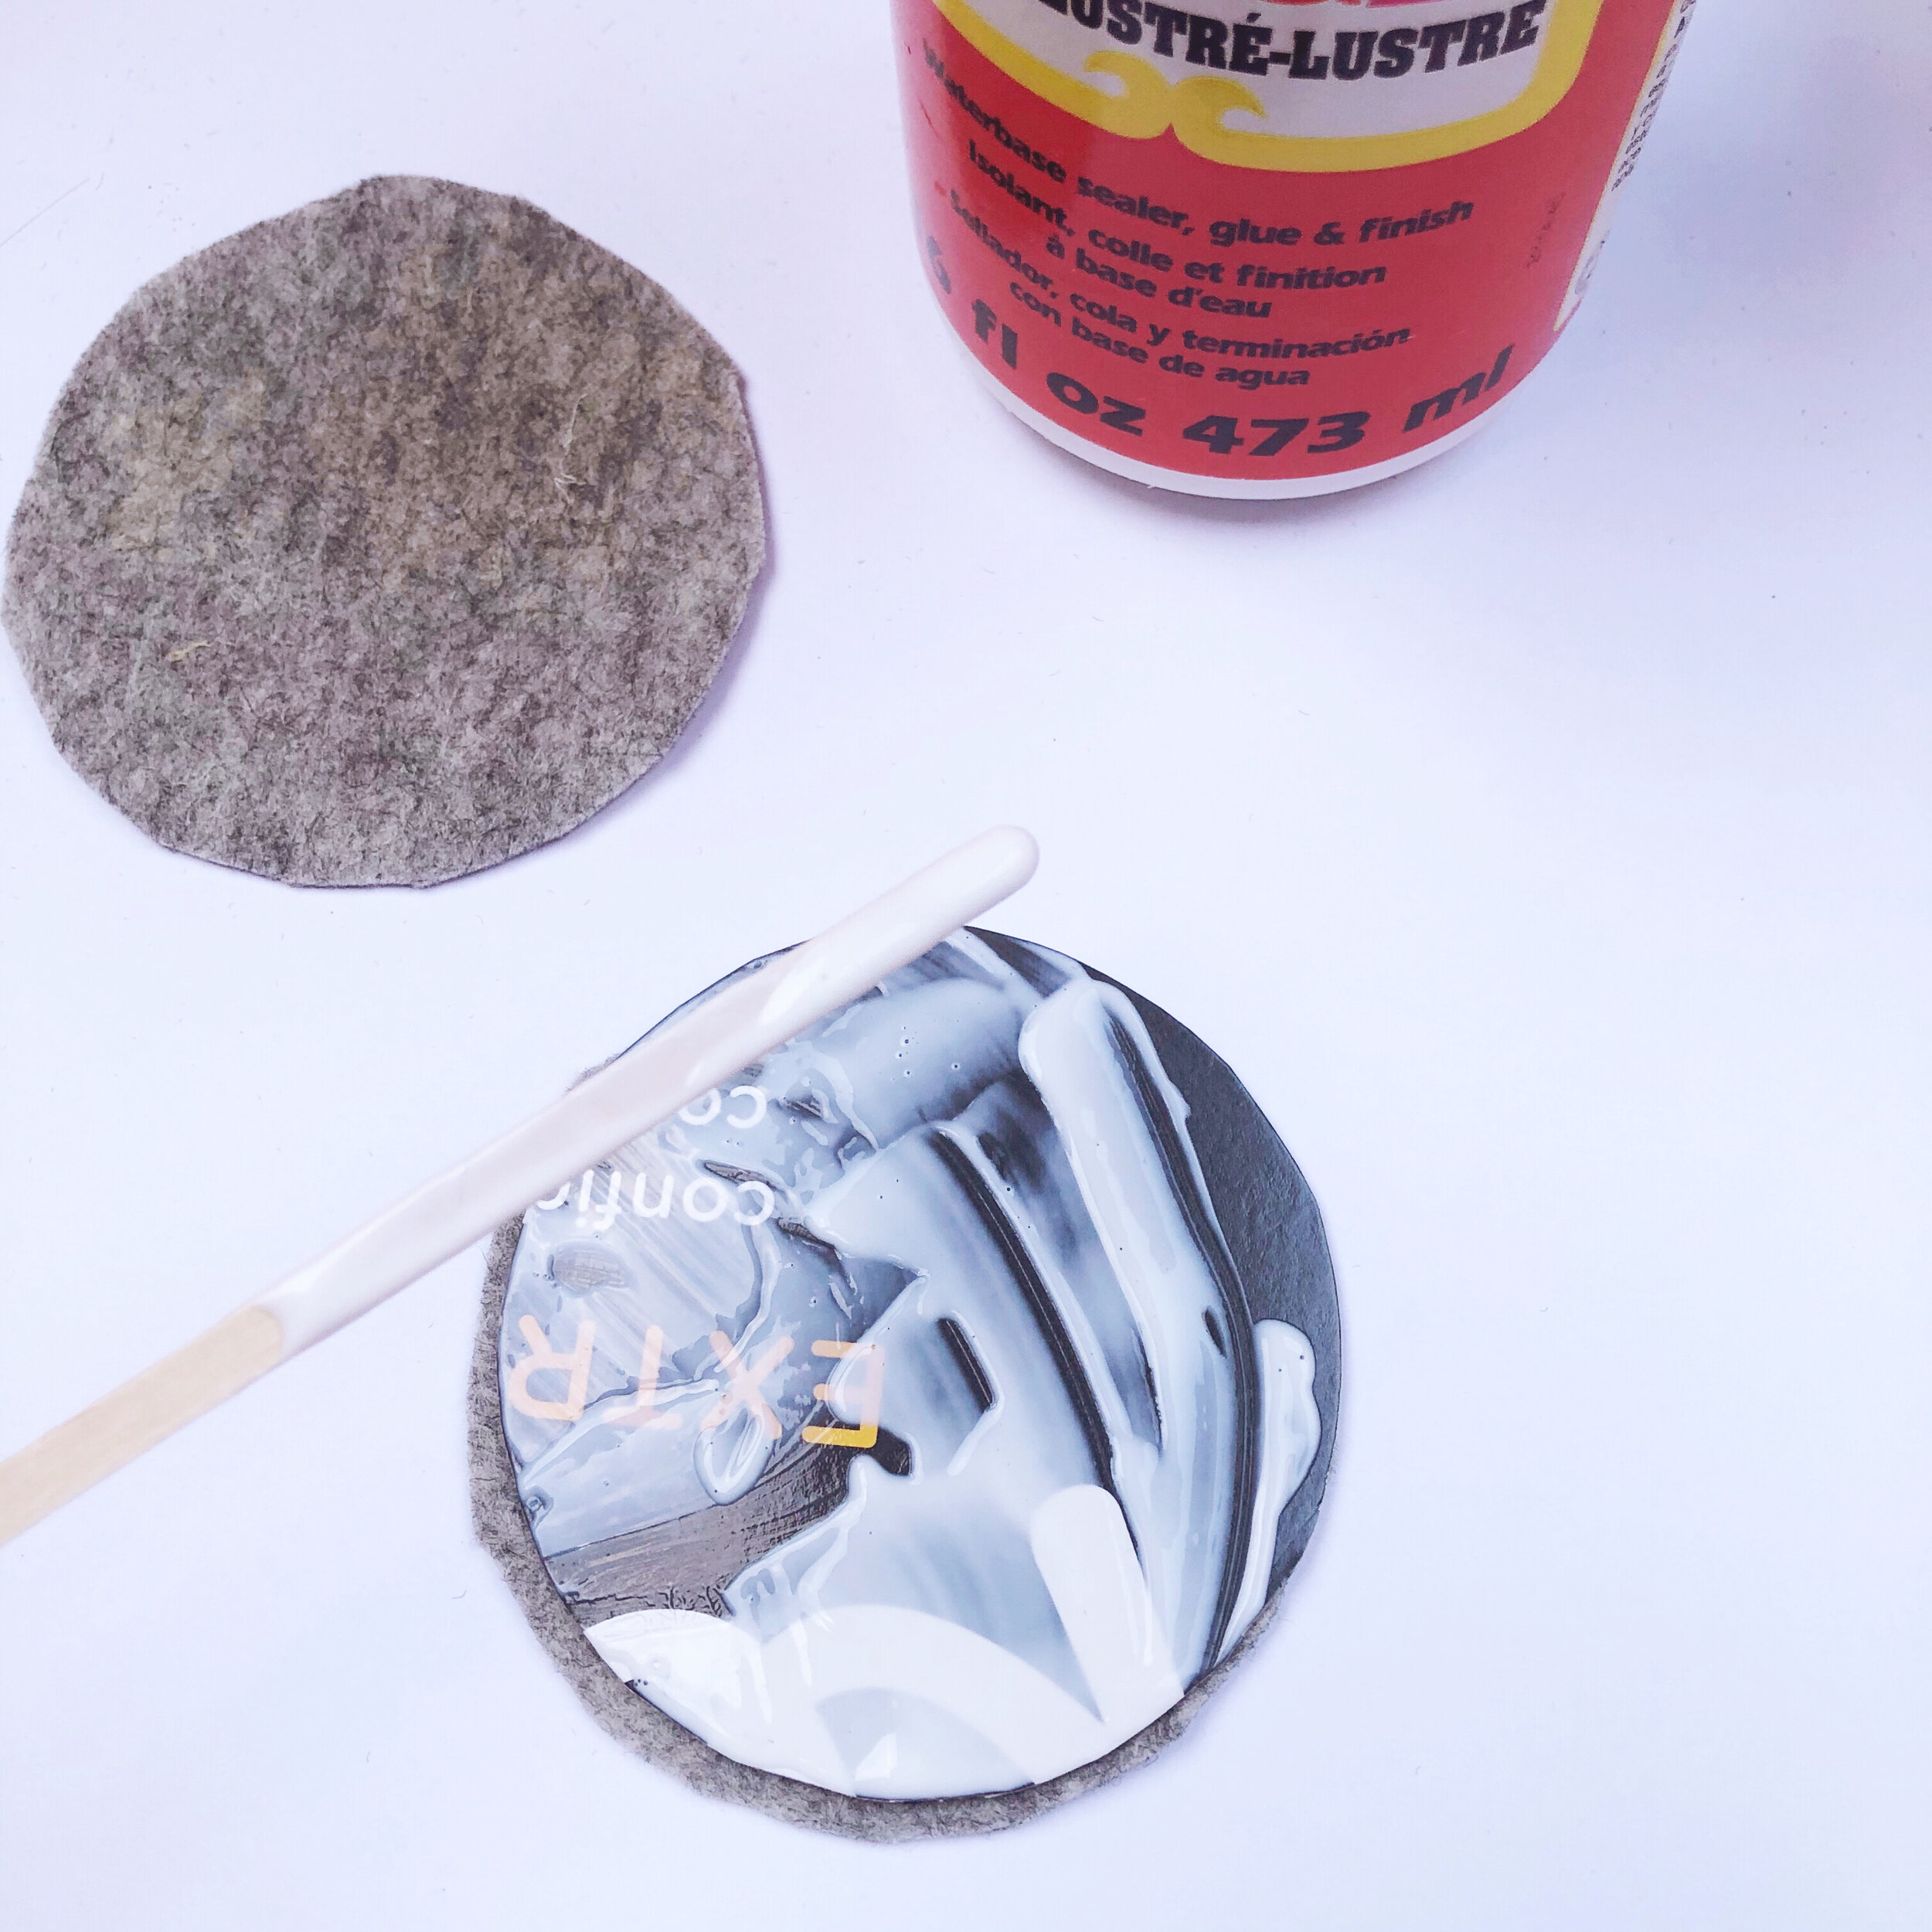
Using a thin piece of card , I used a recycled tissue box, draw around the ramekin to make a circular base. This will form the bottom of your ball pit.
Use the cardboard circle as a template to cut x2 identical circles from the felt sheet.
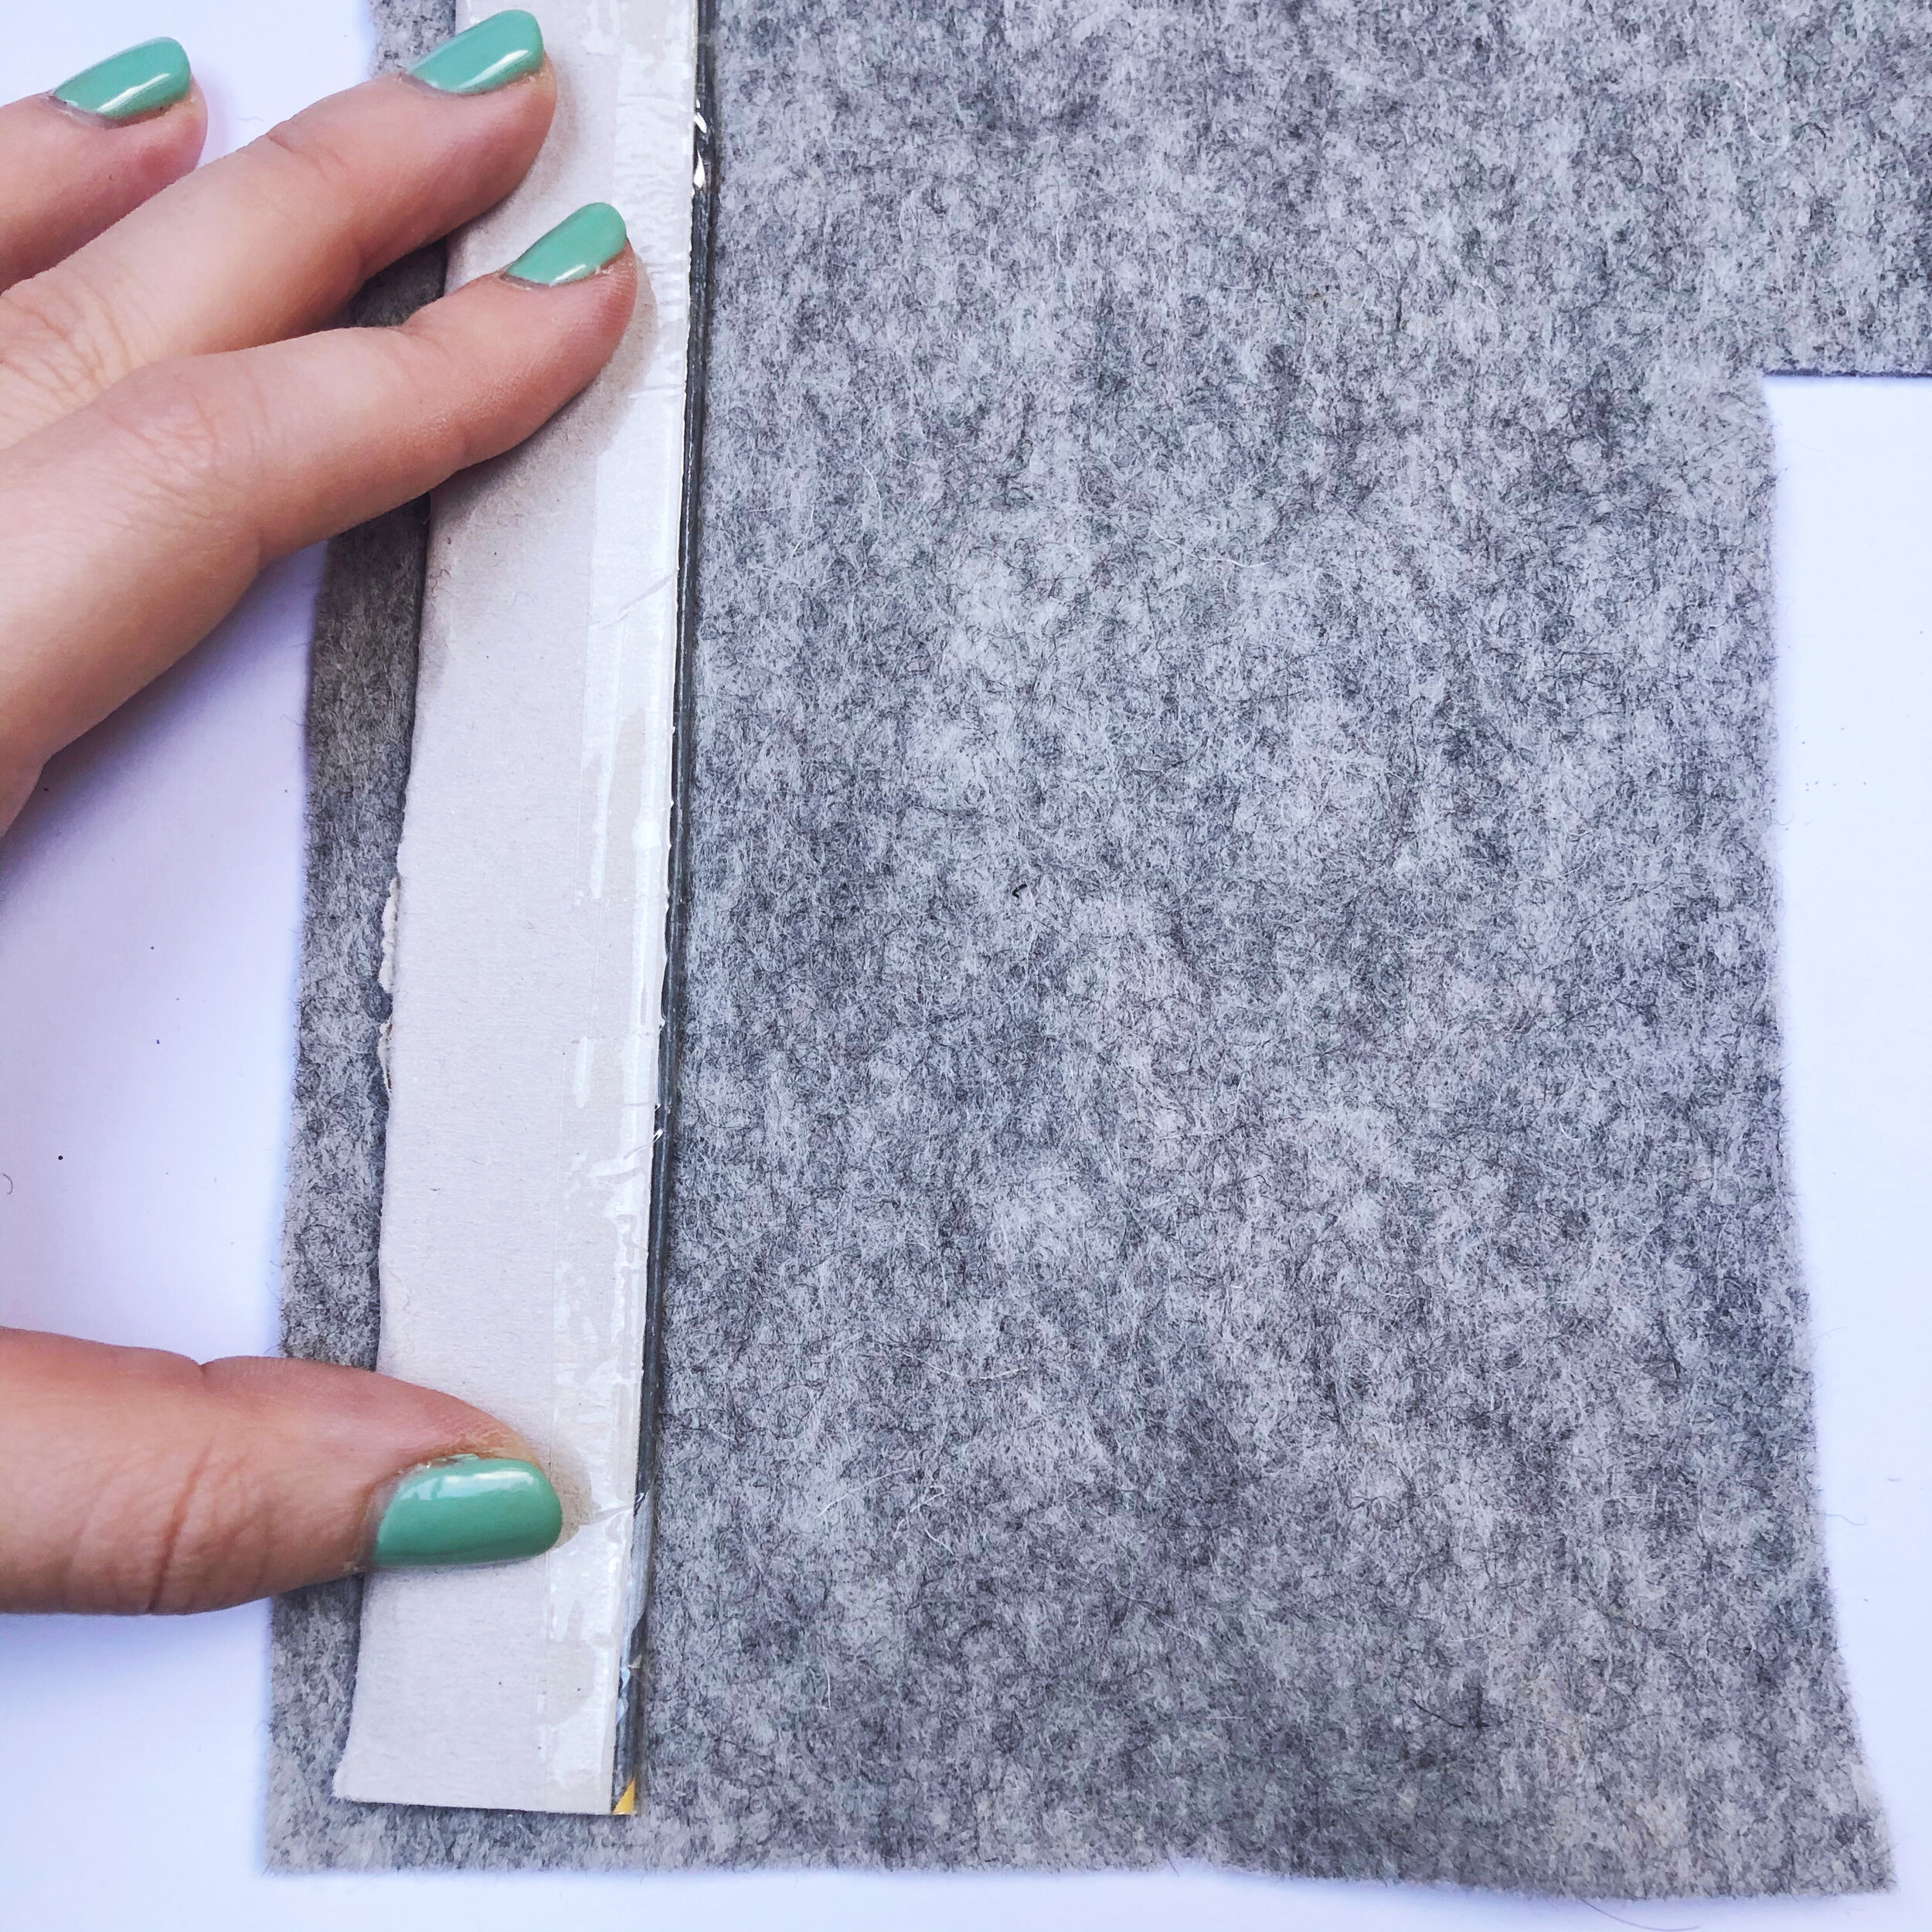
Apply a thin layer of glue to either side of the card circle and attach the felt pieces. The card should be sandwiched between the felt. Leave to dry flat.Next, use the longest edge of the cardboard tissue box and fold it in half, lengthways. Secure this with sellotape. Ensure the fold is as neat and sharp as possible as this is going to create the wall of your ball pit.
Wrap the folded cardboard strip around the outside edge of the glass ramekin and cut it down to size, leaving half a cm of overlap on the end so as to have something to glue later.
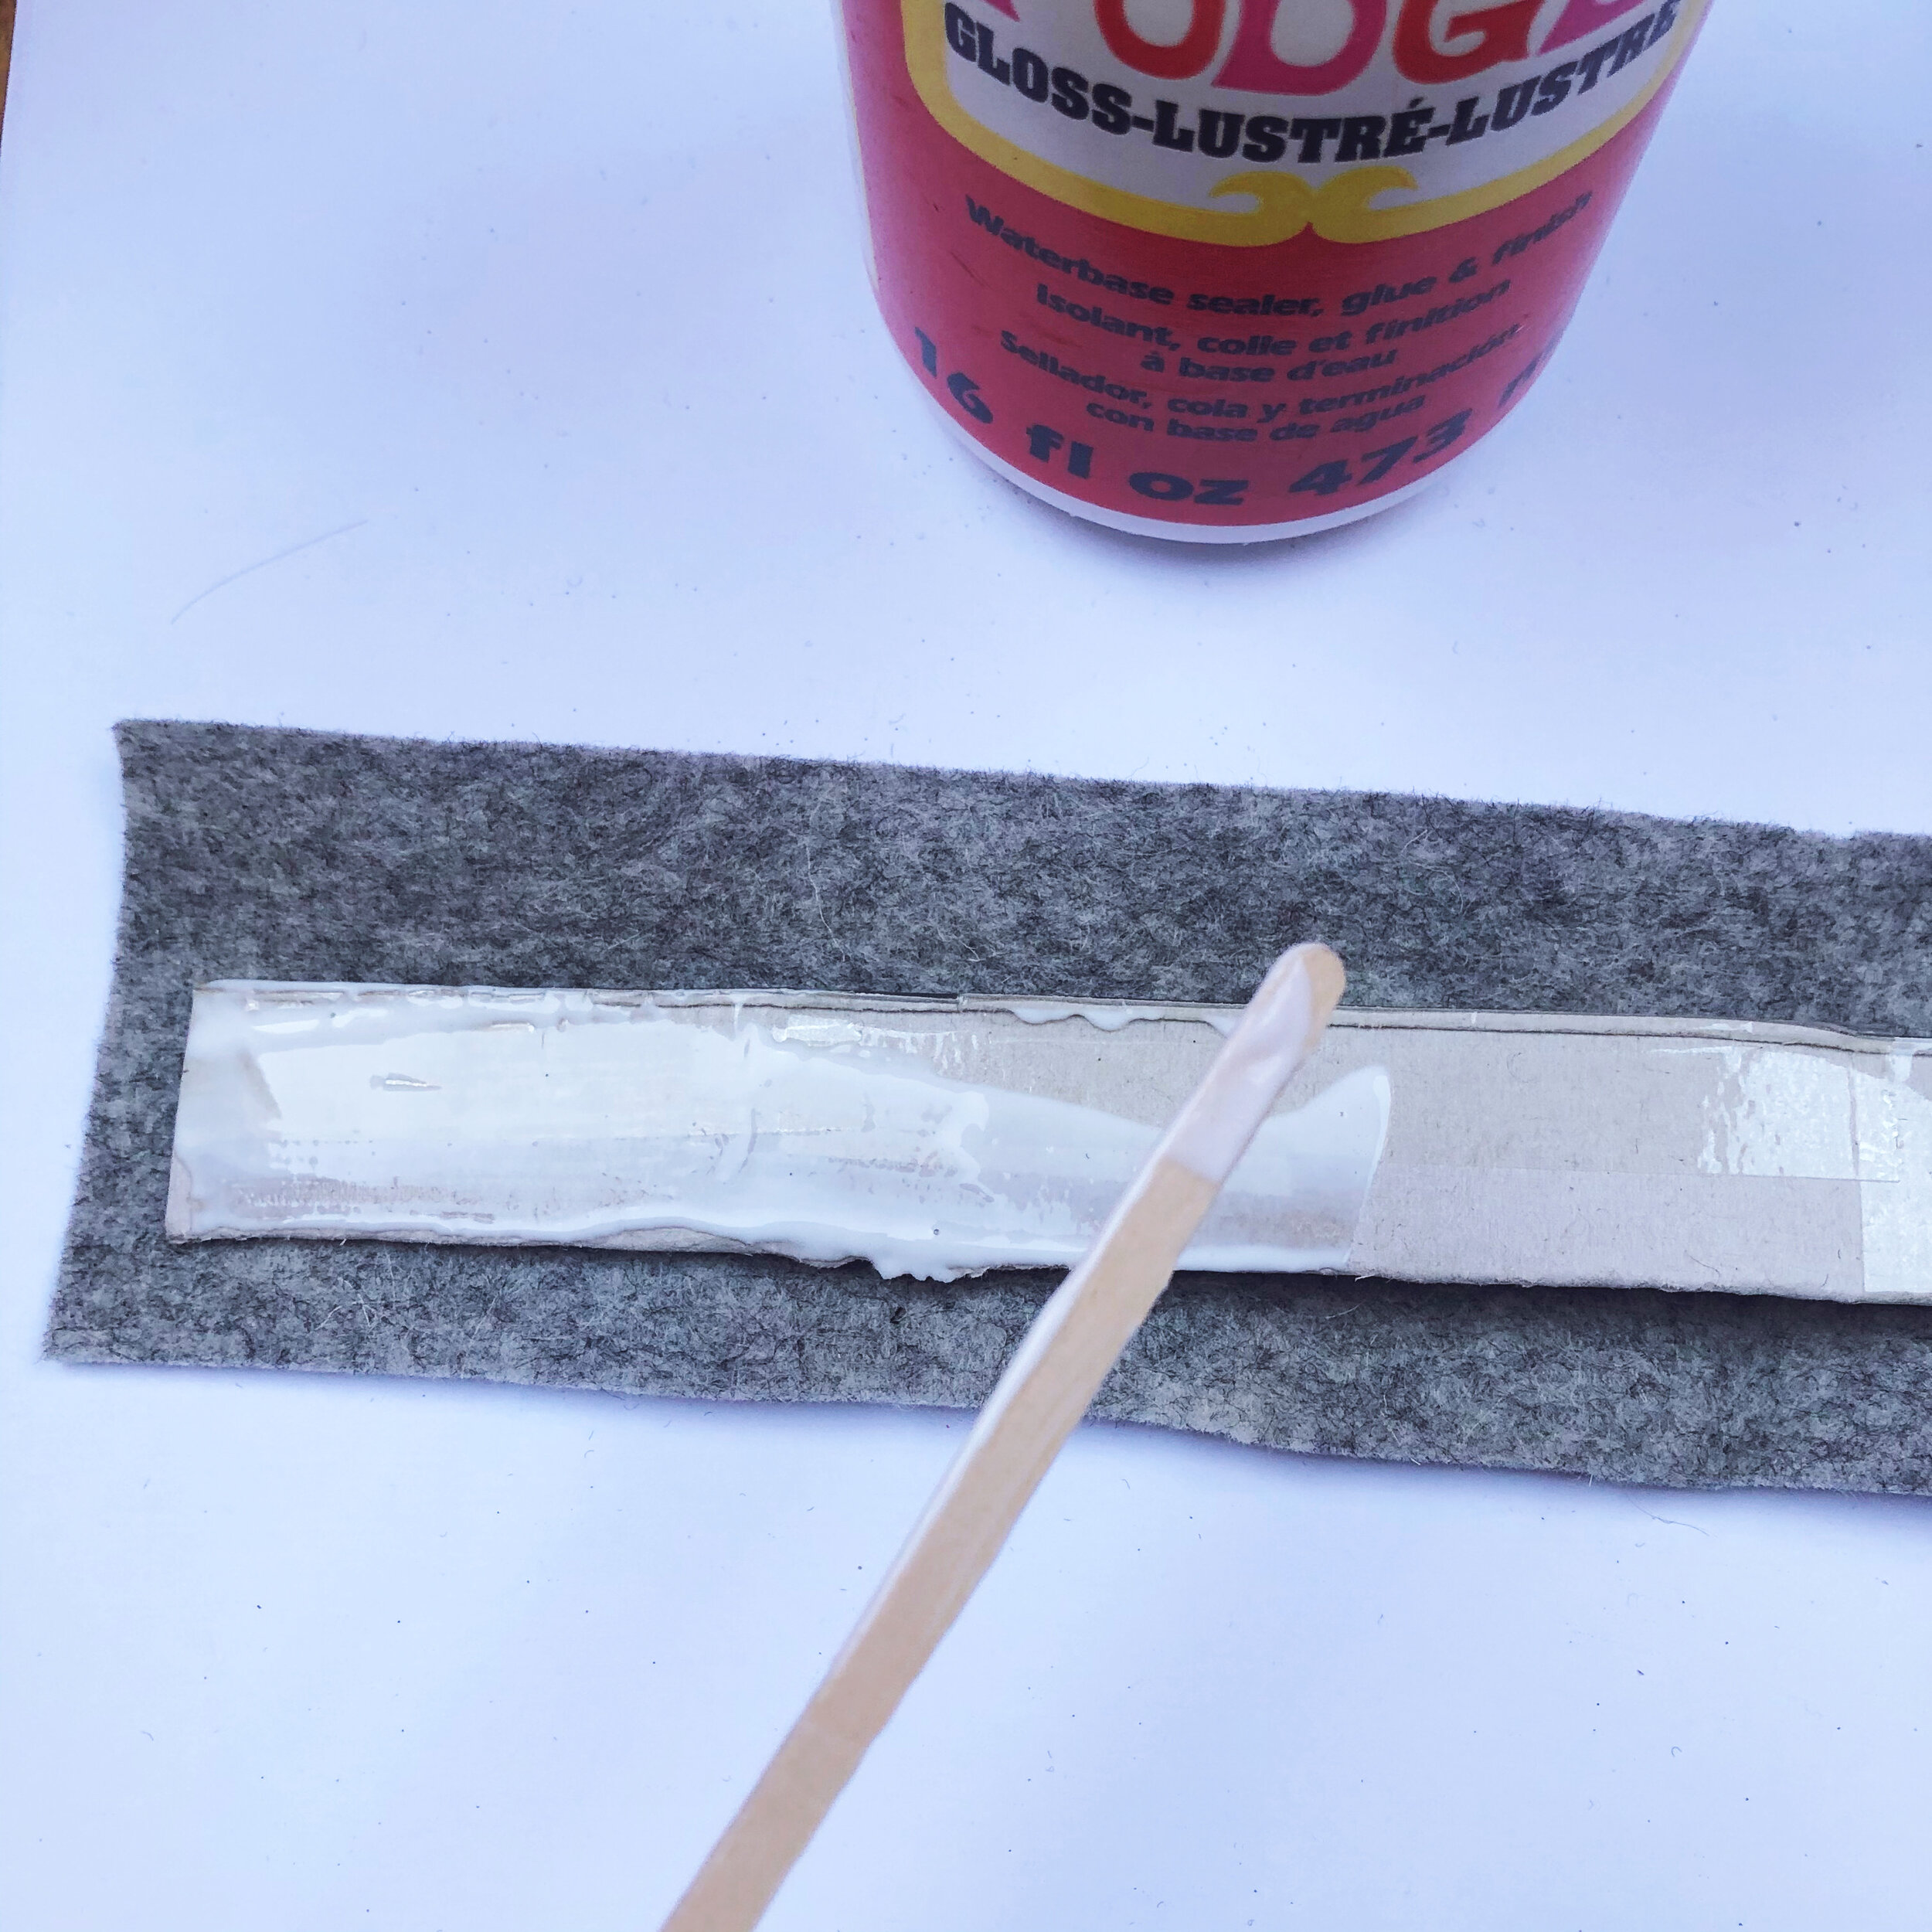
Lay the folded cardboard strip on the felt and a cut a piece large enough to cover both side of the cardboard. Next, cover both sides of the cardboard strip with a thin, even layer of glue and cover with the felt. Press down firmly so that there are no bumps or wrinkles on the surface.
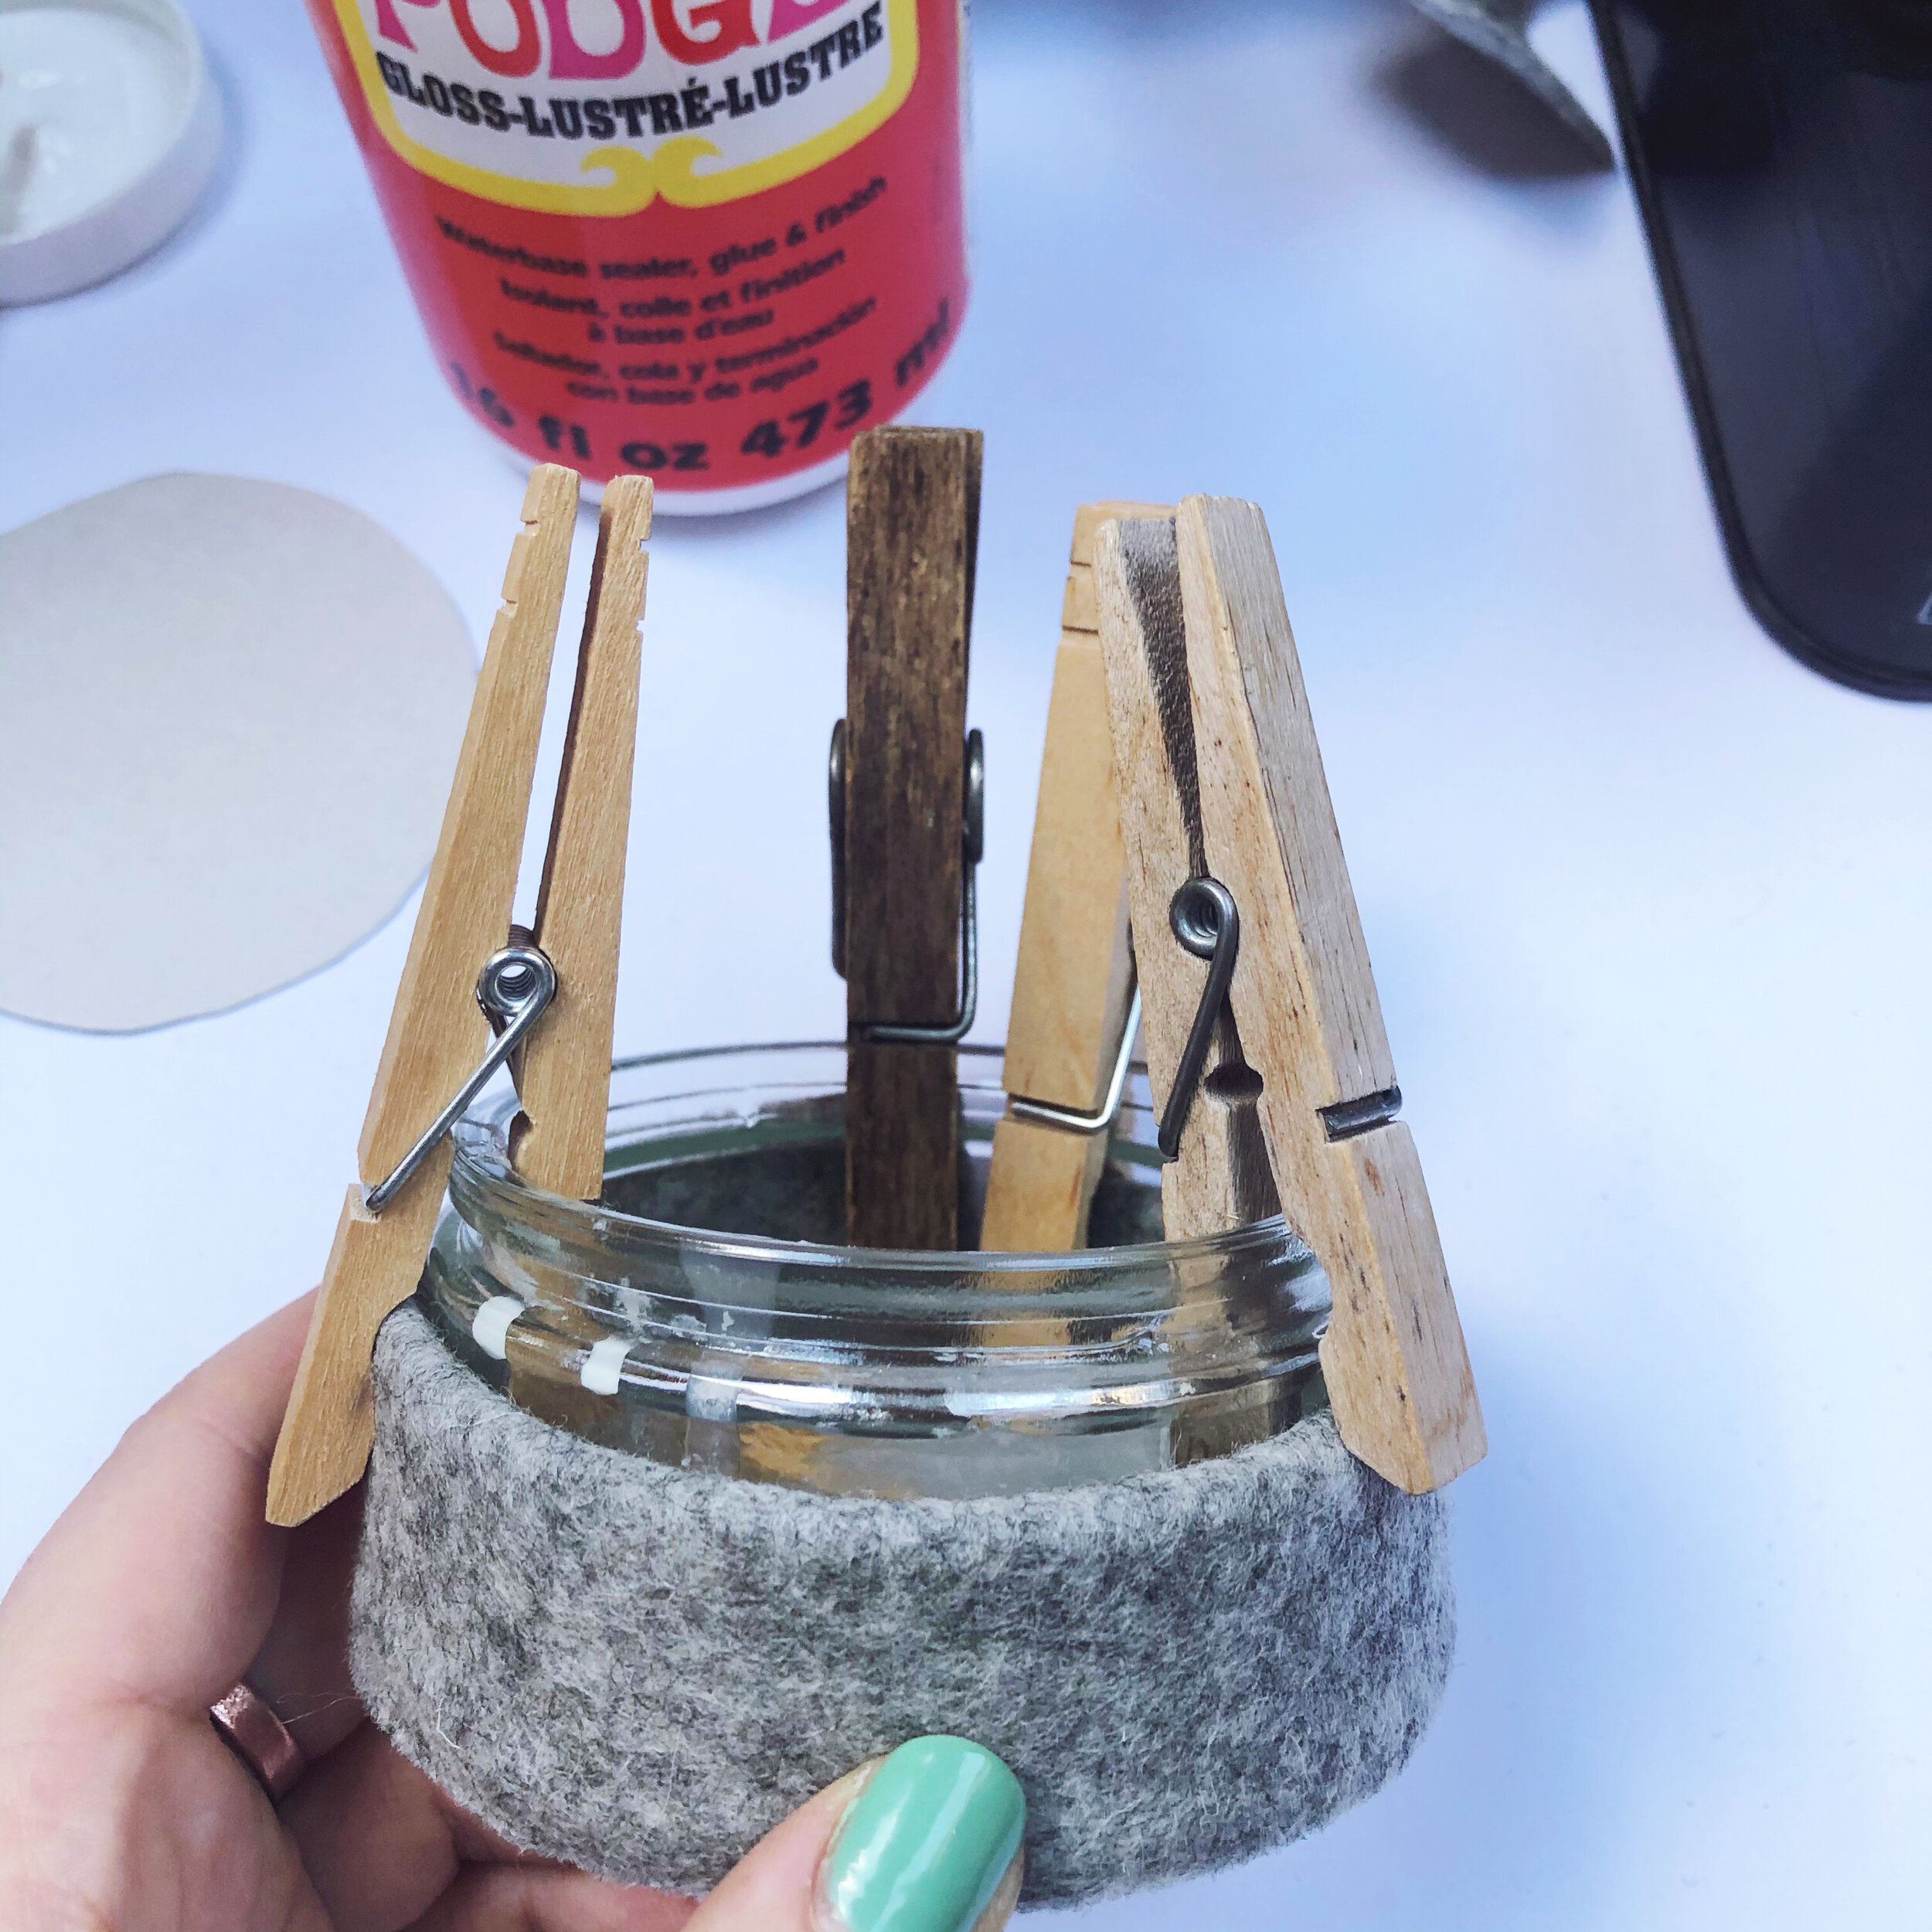
Now you have the wall section of your ball pit. Whilst the glue is drying, shape it around the edge of the glass ramekin, press firmly and secure in place with clothes pegs. Leave to dry.
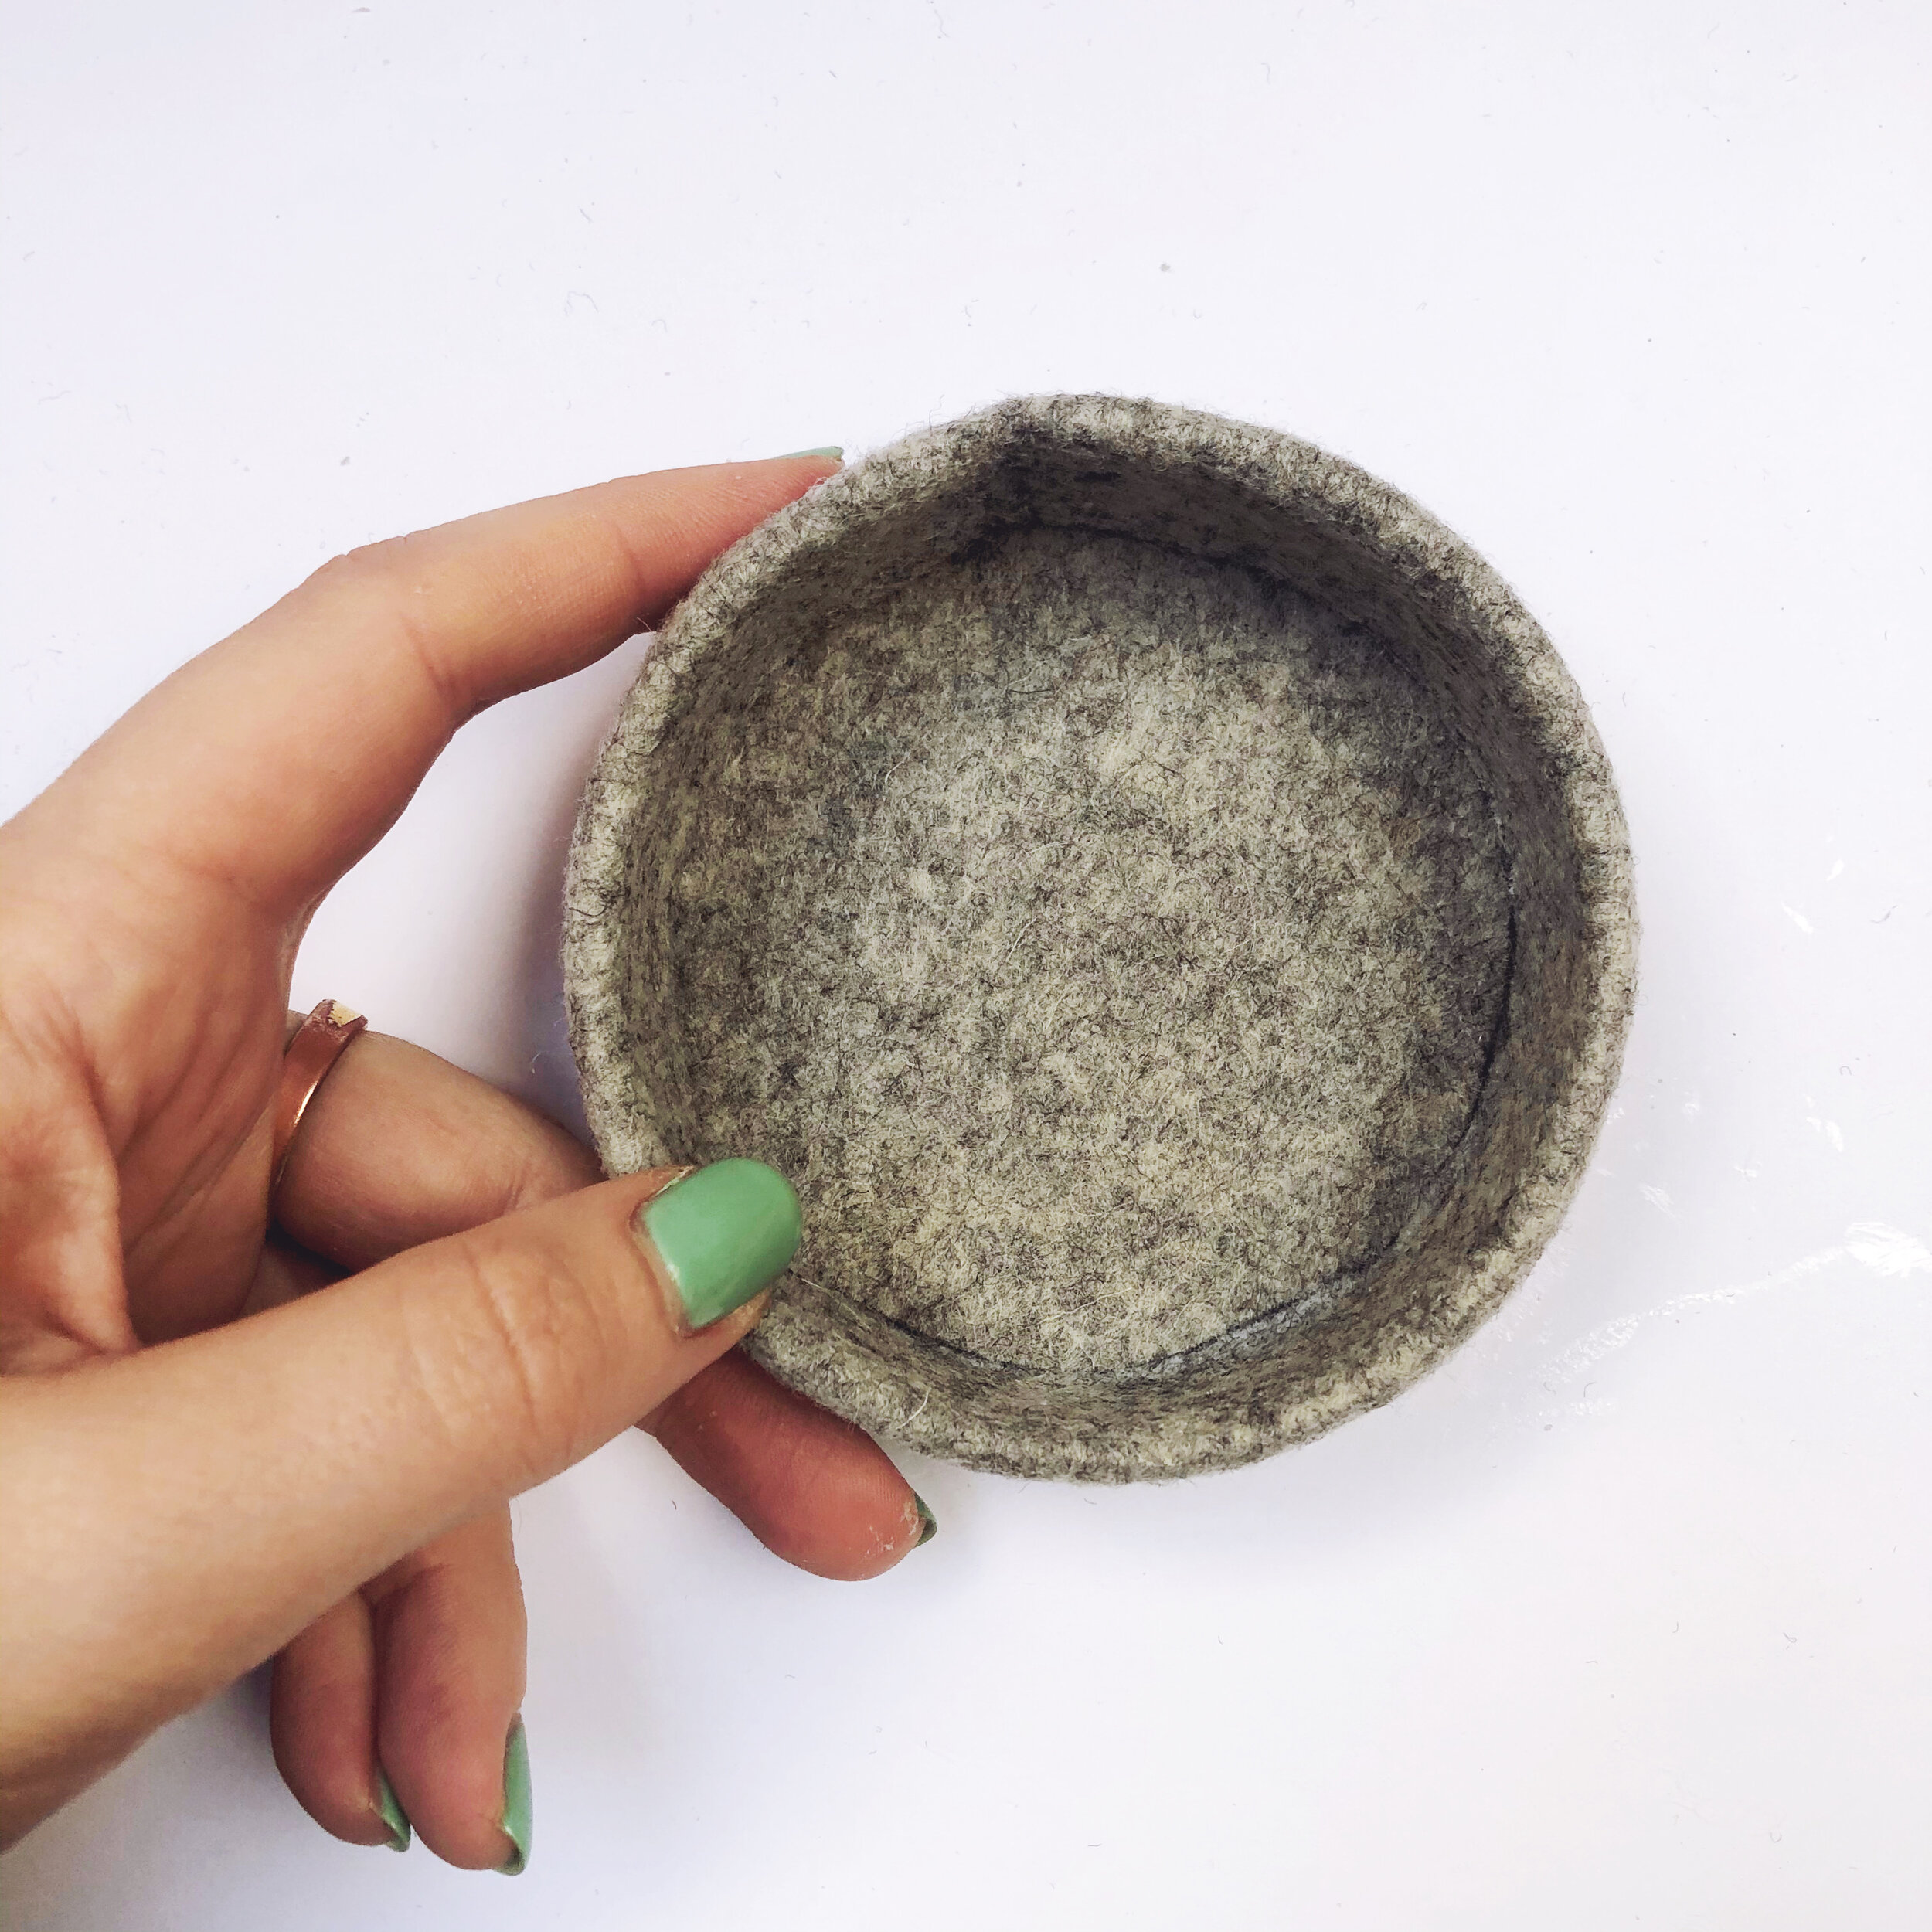
To assemble the ball pit you can glue and/ or sew the pieces together. I secured the ends of the wall section together tightly before removing the section from the glass ramekin. Use a little glue around the base edge to secure the circular section. Once the glue has dried put the whole ball pit back onto the glass ramekin. Stitch around the the base edge, tightly securing the wall and base section. I found sewing whilst the felt was over the glass ramekin made the process a little easier and ensured the ball pit kept its neat, circular shape.
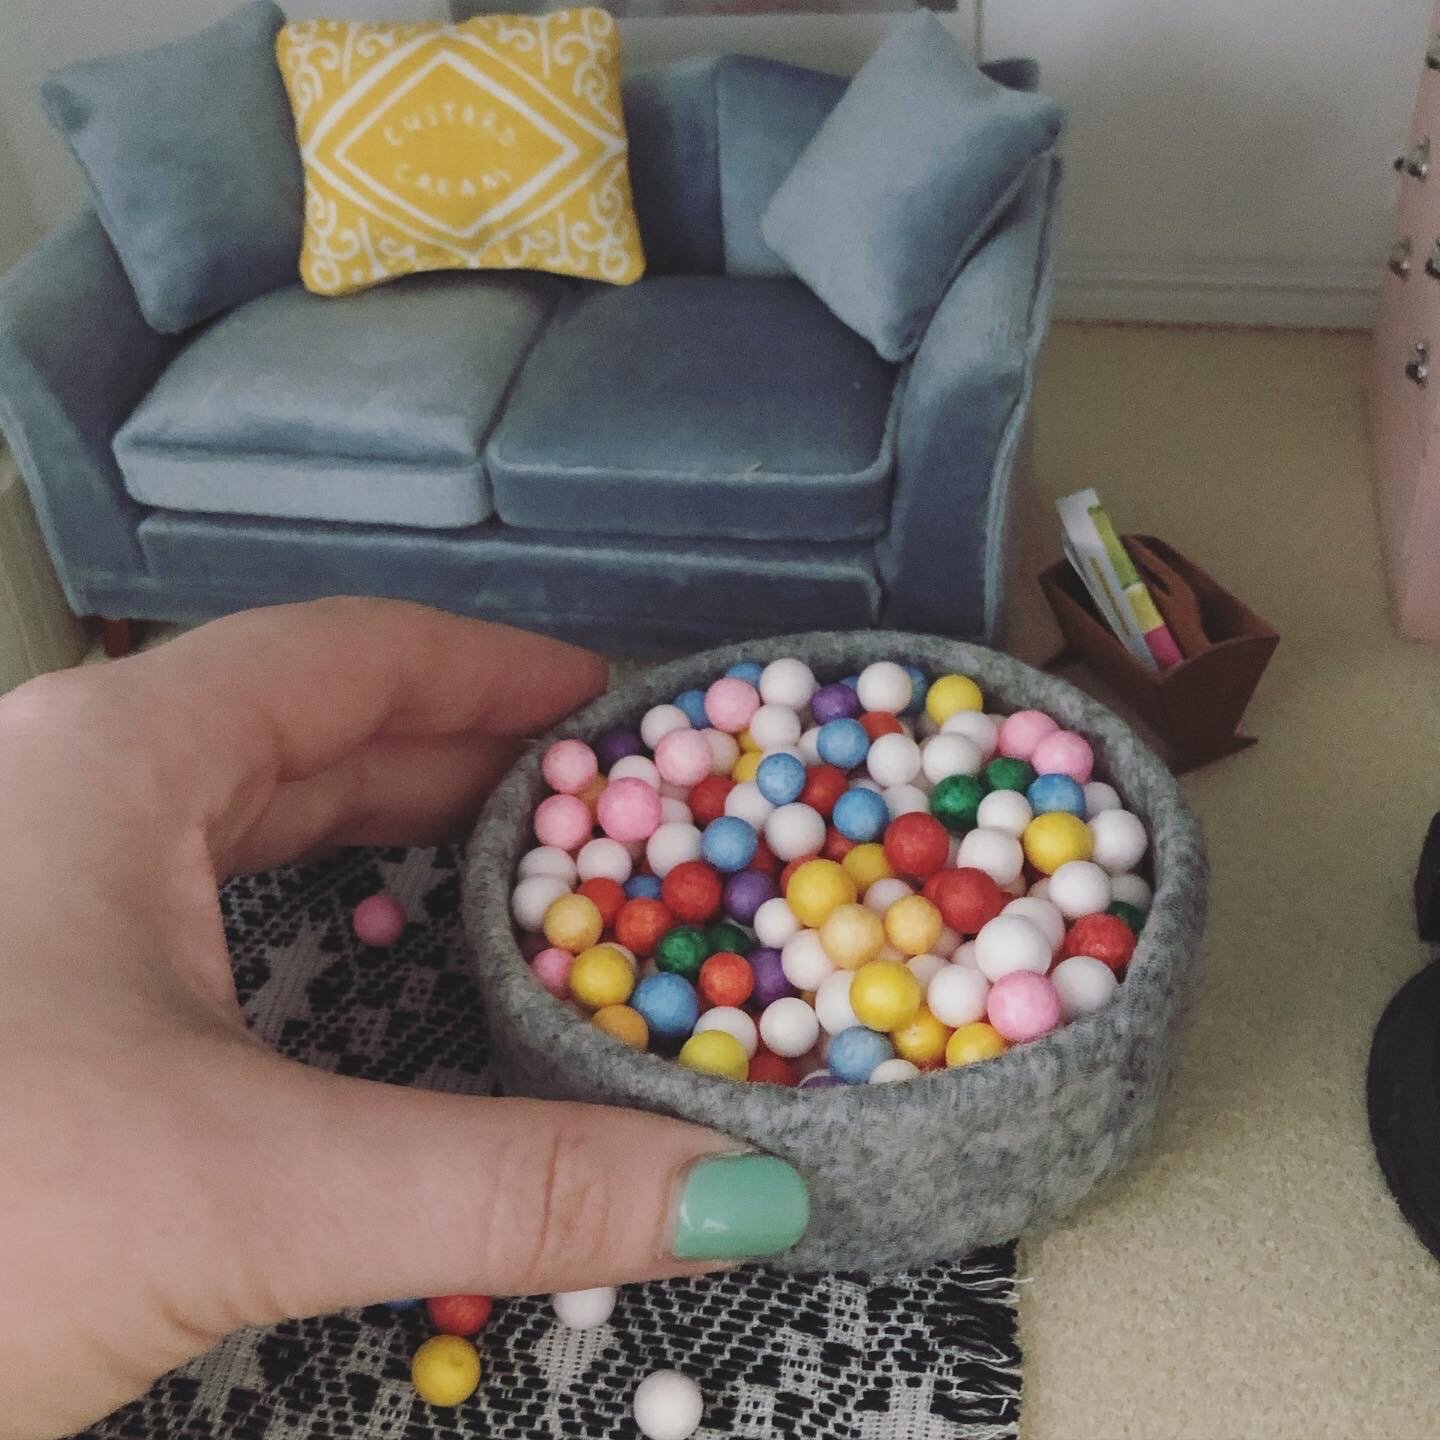
Finally, add balls! These tiny polystyrene ones came multi-coloured, though you could try dyeing your own if you wanted a particular colour scheme.